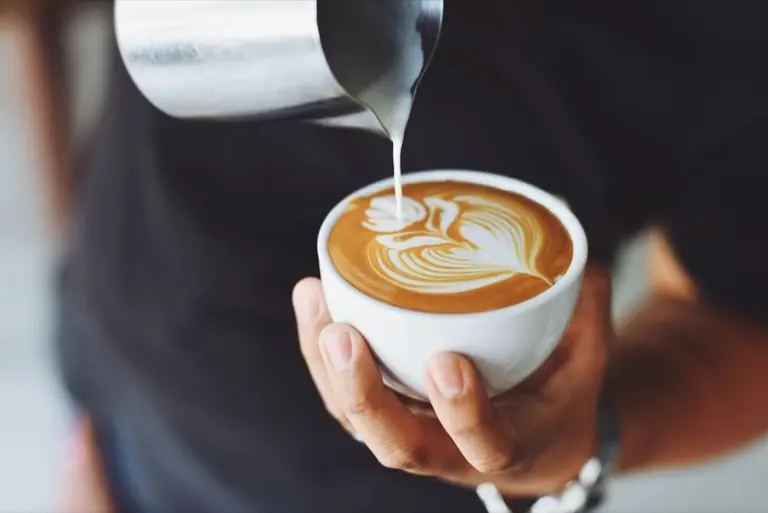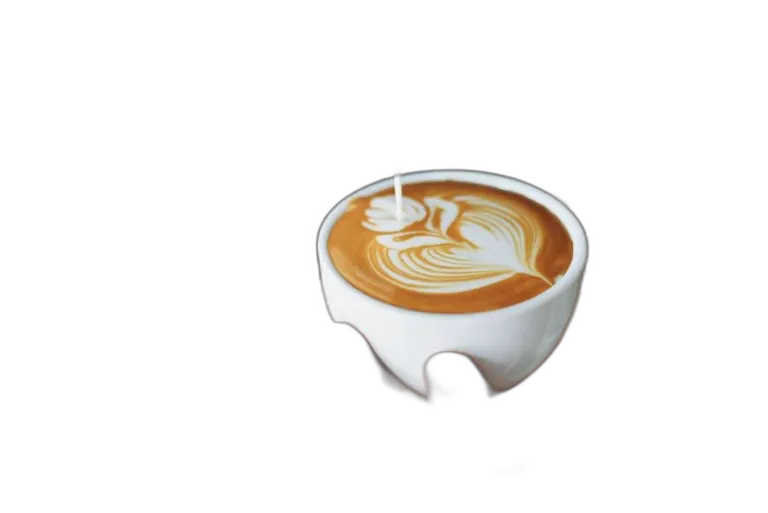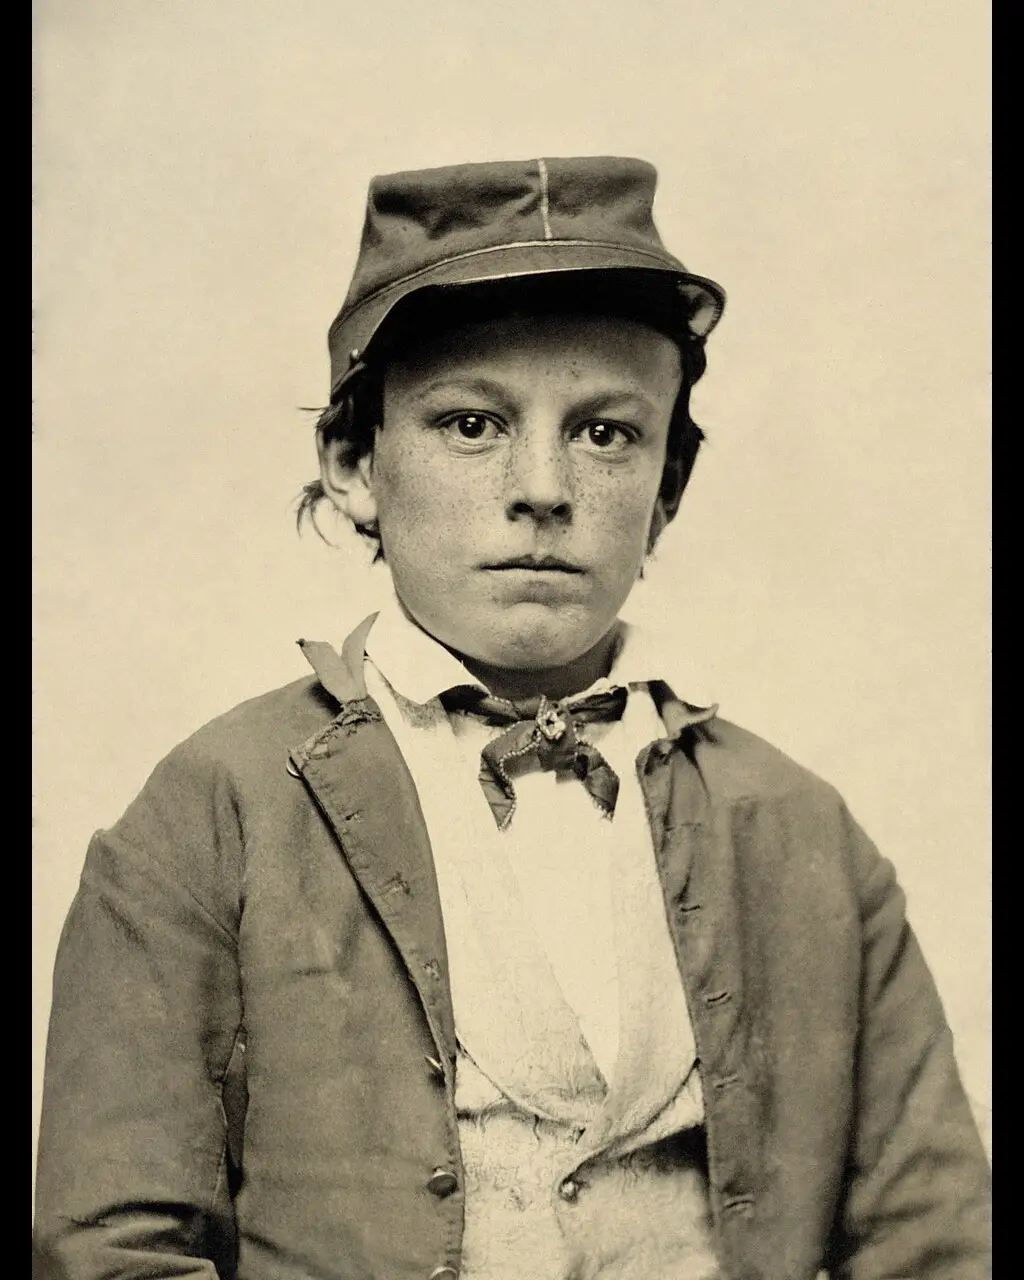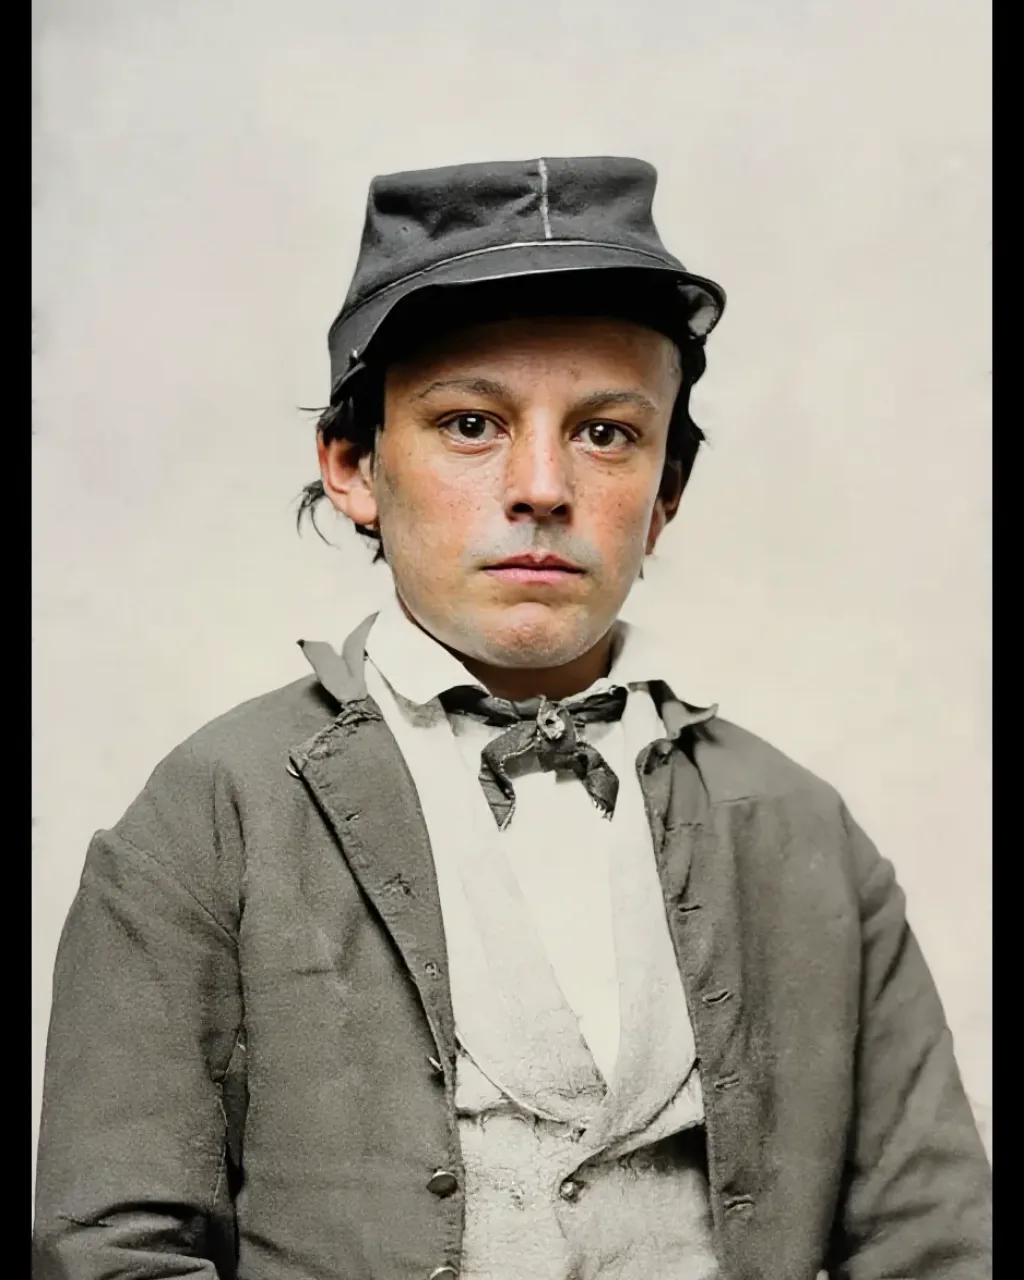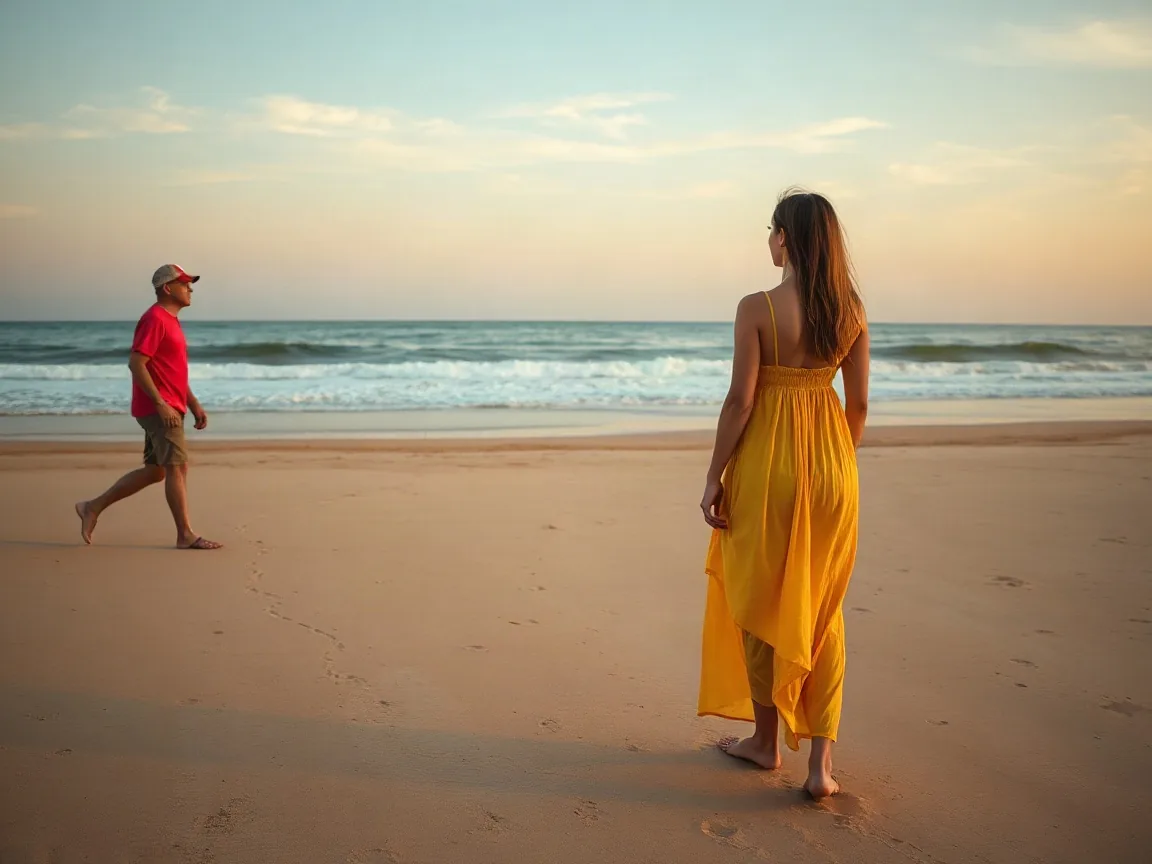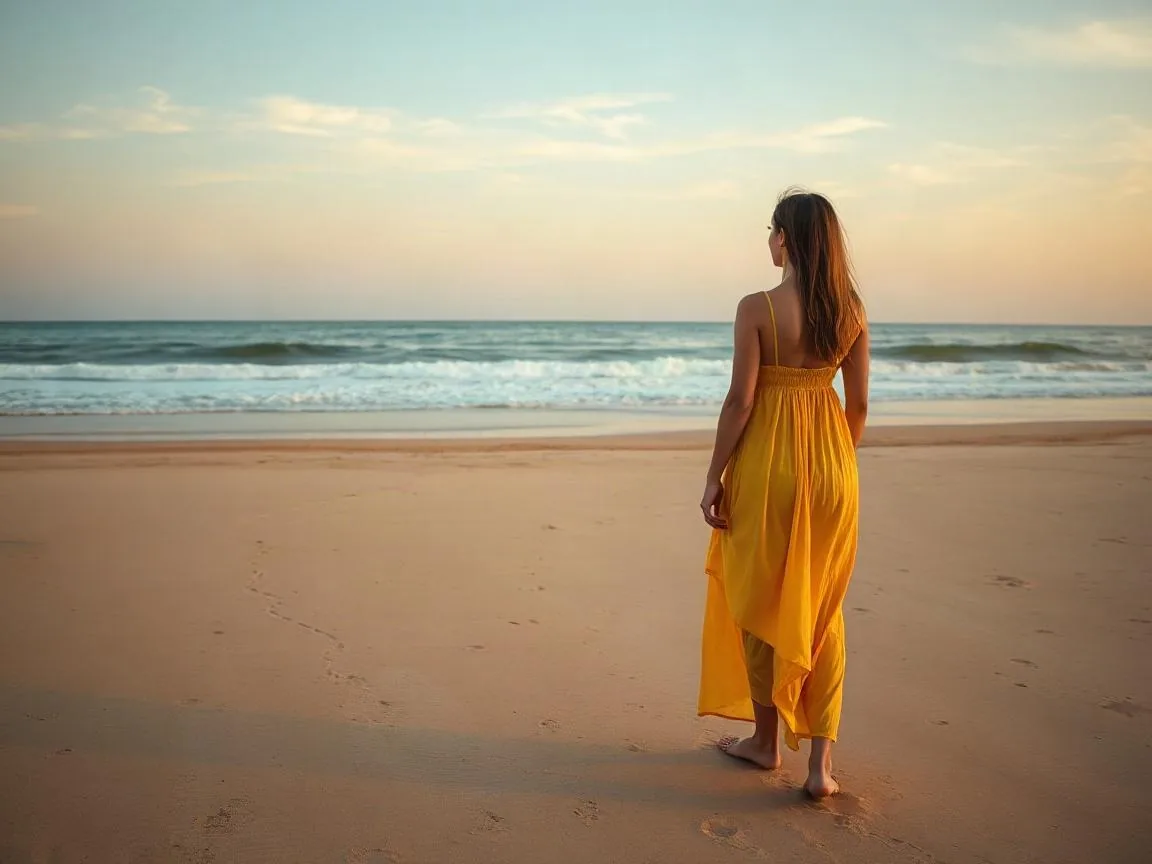

Combine photos into one image in three steps
- Add your images. Two is the common case, but you can drop up to nine at once. The order you add them is the order they appear — drag any thumbnail to move it.
- Choose a layout. Side by side, stacked, a grid, or one image laid over another. Each layout recalculates the output size from your actual files, so nothing is stretched to fill a fixed canvas.
- Set the gap, then export. Pick the border thickness and colour (white, black or transparent), choose the output size, and download one flat PNG. Your source files are never modified.
If a file needs a crop or a rotation first, do that in the free editor. This page only combines.
Four layouts: side by side, stacked, grid, overlay
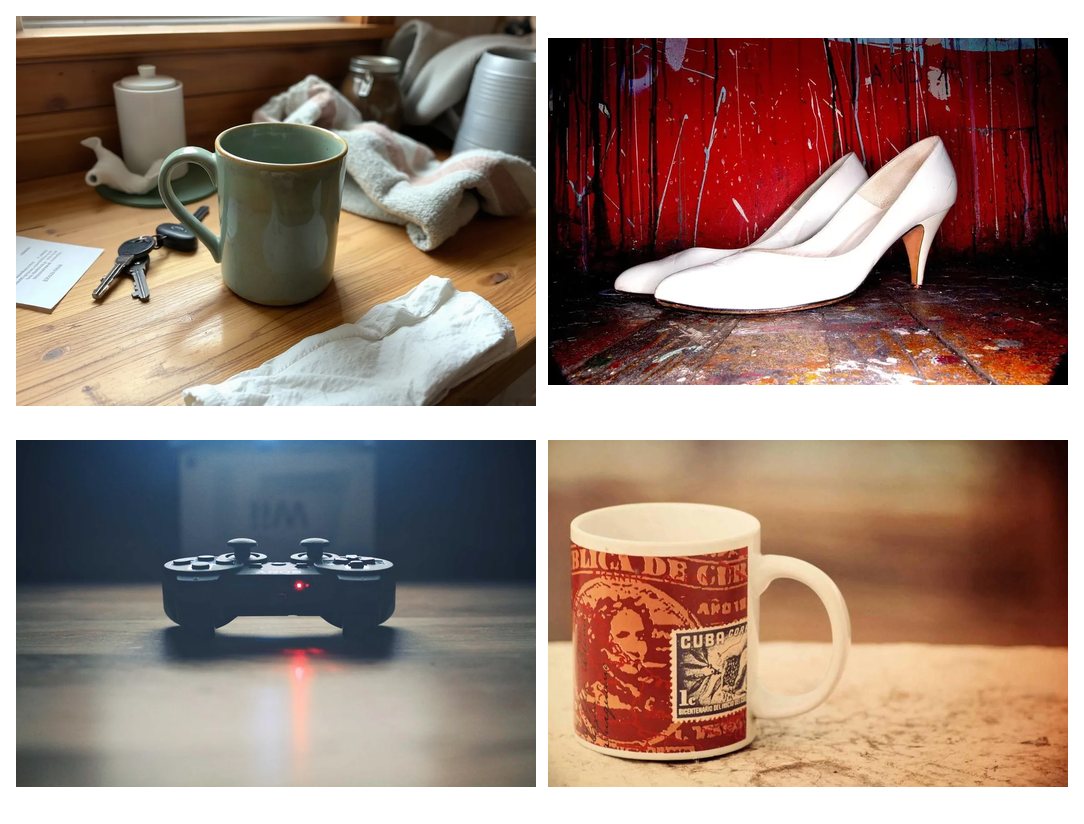
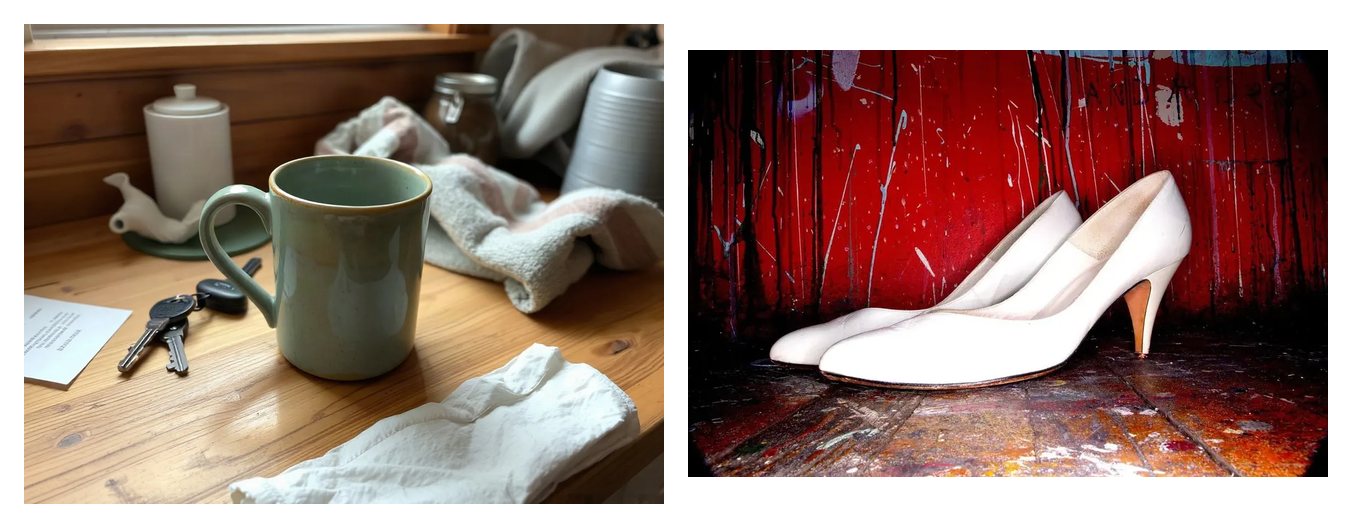
Side by side is for before-and-after pairs, product variations, and anything where the two images are meant to be read together. Photos of equal height line up cleanly; unequal ones get centred on a common baseline rather than stretched.
Stacked puts one photo above the other — the layout people want for a screenshot above a caption, or a wide banner split into two rows.
Grid takes three, four, six or nine images into a single frame: 2×2 for a set of product shots, 3×3 for a mood board.
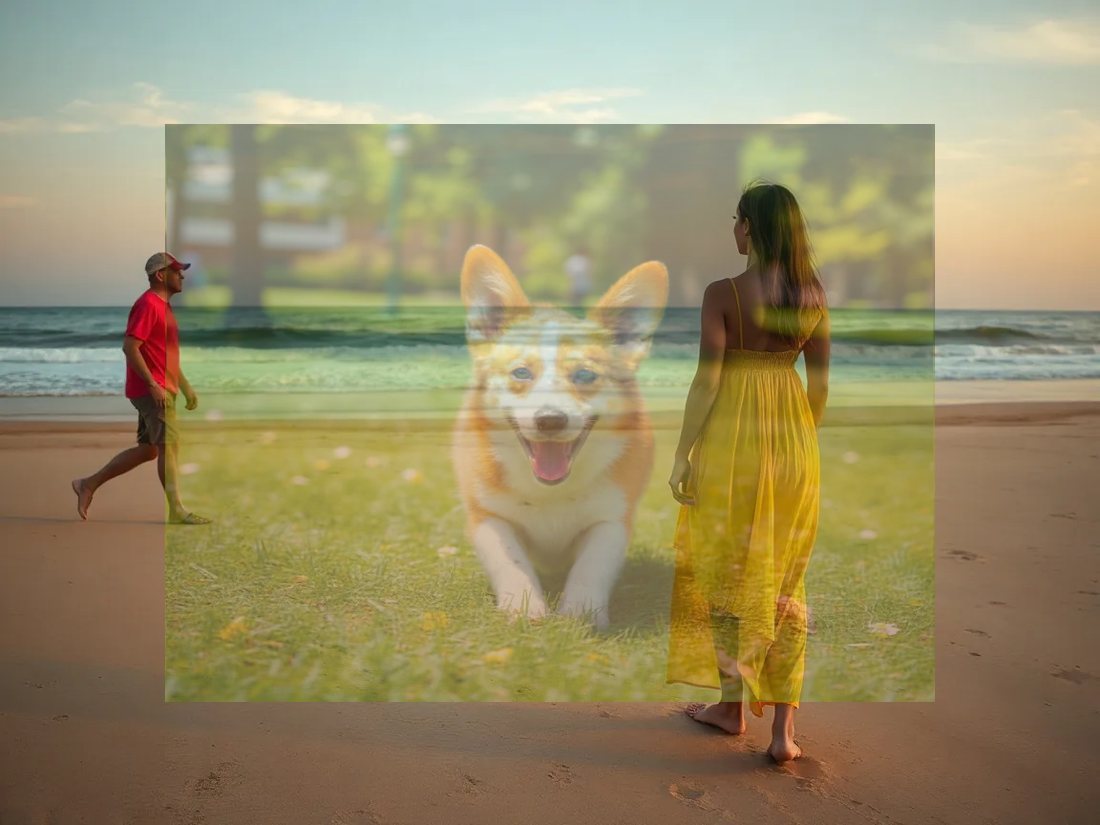
Overlay places one image on top of another with adjustable position and opacity — a logo over a photo, a signature over a scan, a watermark over your own work.
If one frame has a person or an object you do not want in the set, remove it first with Remove object.
Mix photos of different sizes without stretching them
Most combining goes wrong here. A portrait shot and a landscape shot have no common height, and the tempting fix — stretching one to match — makes faces wider and circles oval.
Two rules keep it clean. Fit by height and let the narrower image pad with the background colour, so both keep their true proportions. Or upscale the smaller file first so both start near the same pixel size; the result is sharper than stretching after the fact.
If one image is dramatically smaller — a 400-pixel thumbnail next to a 3000-pixel photo — combining them will make the small one look soft no matter what. Scale it up on its own first with Upscale image.
Add a border or a gap between photos
A gap does more than look tidy. Two photos placed edge to edge compete — the eye cannot tell where one ends. A 8 to 24 pixel gap in a third colour, or in the page's background, gives each image its own frame and makes a comparison read as a comparison.
White is the safe default for print and for marketplace listings, where a pure white margin matches the surrounding page. Transparent is right when the combined image will sit on a coloured background — a slide, a dark website header, a business card.
When that background should show through the subject itself, cut the subject out first with the Transparent background maker, then combine on a transparent gap.
Join screenshots into one long image
Screenshots are the one case where stacking beats every other layout: chat threads, long settings pages, step-by-step tutorials. These are usually the same width and differ only in height, so they stitch into one tall image with no visible joins.
Two things to watch. Our tool joins at the file edges, so trim the duplicate overlap first if your screenshots repeat a header bar — otherwise you get the same toolbar five times down the page. And a very tall export can exceed what some chat apps will display; past about 10,000 pixels of height, split it.
Stacking does not bring a soft screenshot back into focus. If the capture is already blurred, open Unblur image before you combine.
Overlay one photo on another
Overlaying is combining with layering: the top image sits above the bottom one at a position you set, with an opacity you control. At 100% it reads as a stamp — a logo or a signature on a scanned document. Around 30 to 60% it reads as a blend, which is how people add a texture or a second image into a photo.
Note that this is a compositing operation, not a blend mode engine. If you need multiply, screen or dissolve effects, that is a different (and heavier) tool.
Laying a mark on your own photo is this overlay. Taking a stamp or a logo off a photo you are allowed to edit is Remove watermark.
Photo combiner, not an AI image combiner
Search results for this need mix two very different products. A photo combiner is a compositor: it places your images next to or on top of each other at the size you choose, and every pixel in the output came from your files. An AI image combiner instead generates new content — it blends a portrait into a background, or invents the space between two photos.
HivePic's page does the first job and only the first job. Nothing is generated, nothing is invented, and no model decides what your photo should look like. What you put in is what comes out, arranged.
A photo that is only dark or off-color is a different job. Image enhancer corrects light and color. It does not invent the space between two pictures, and neither does this page.
About this tool
HivePic's photo combiner runs in your browser — the images are combined on your own device and are not uploaded to a server. There is no account, and the PNG you download carries no watermark: it is the full resolution you asked for.
If the finished frame should change color, do that on Image color changer. This page only arranges the photos you added.
Version 1.0 · Updated 12 November 2026