Upscale image online by 2× or 4× and keep the detail. Ready for print or a bigger screen.
Without signing in you get 3 credits a day, charged per tool. Sign in for 10 a day.


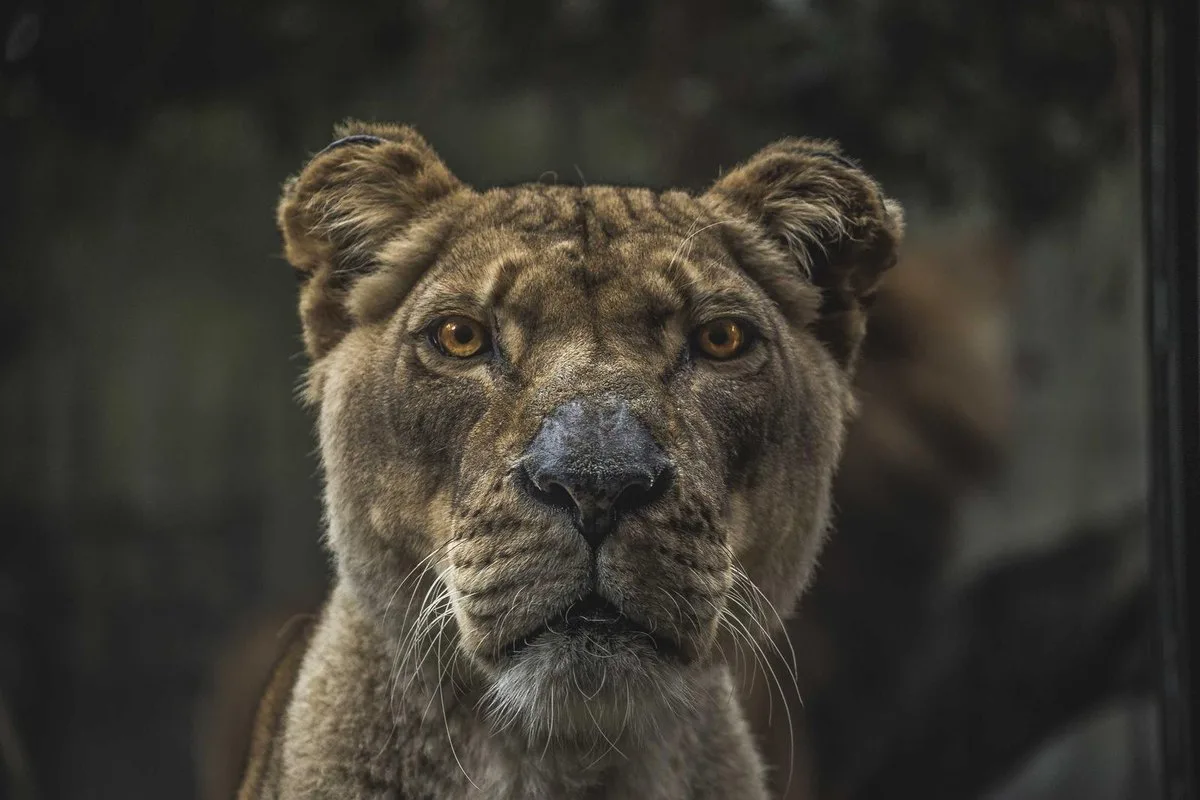
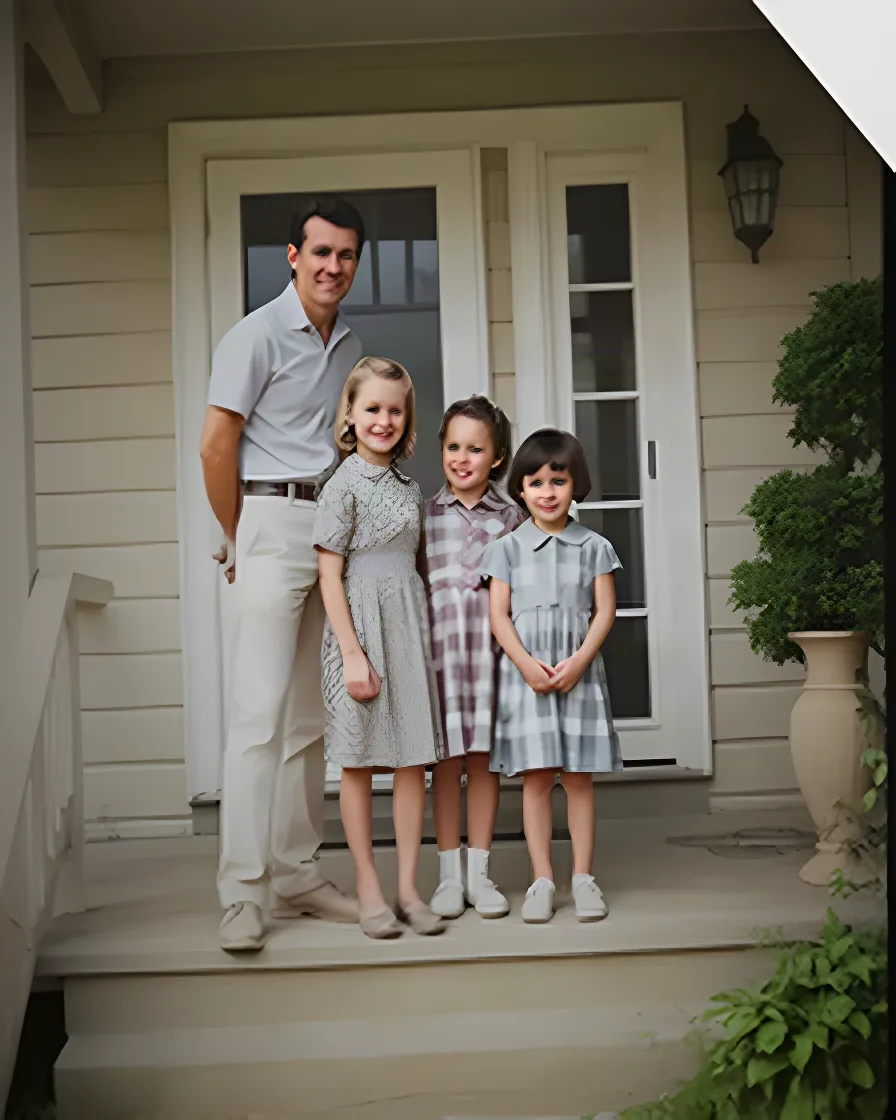
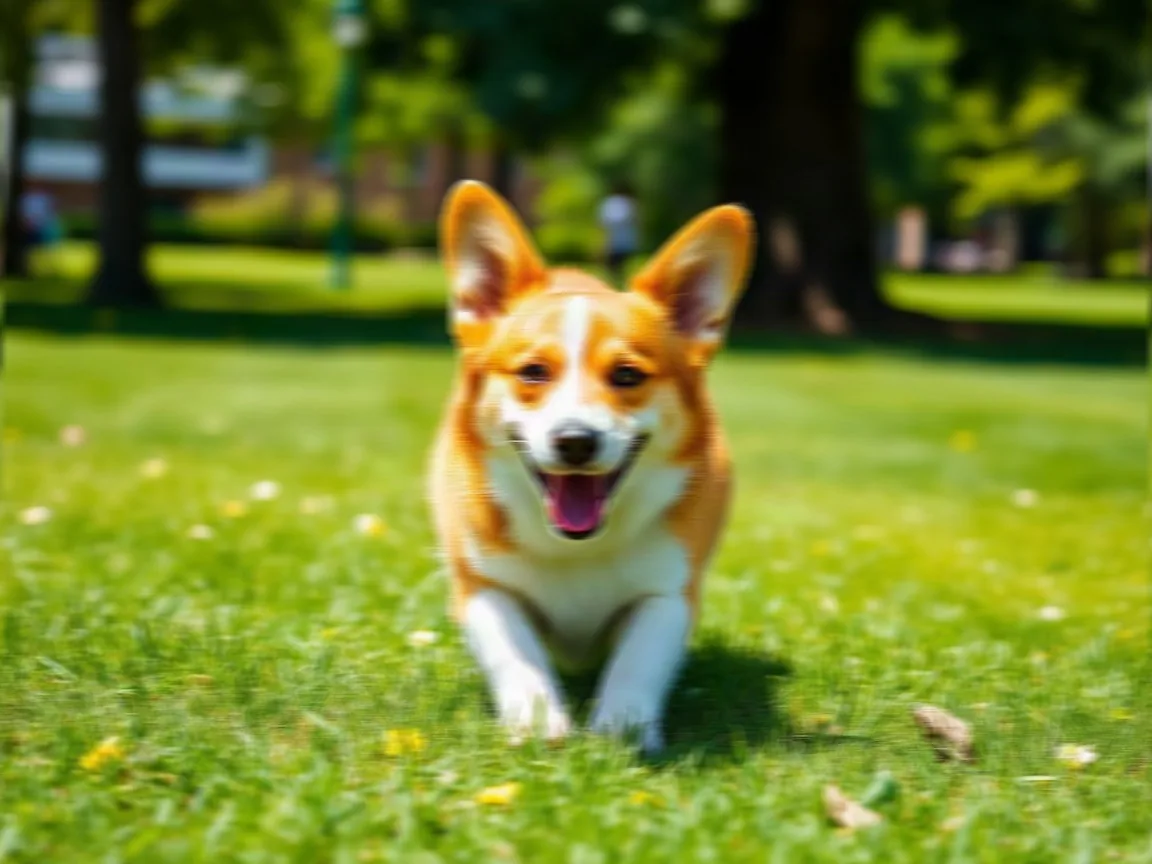
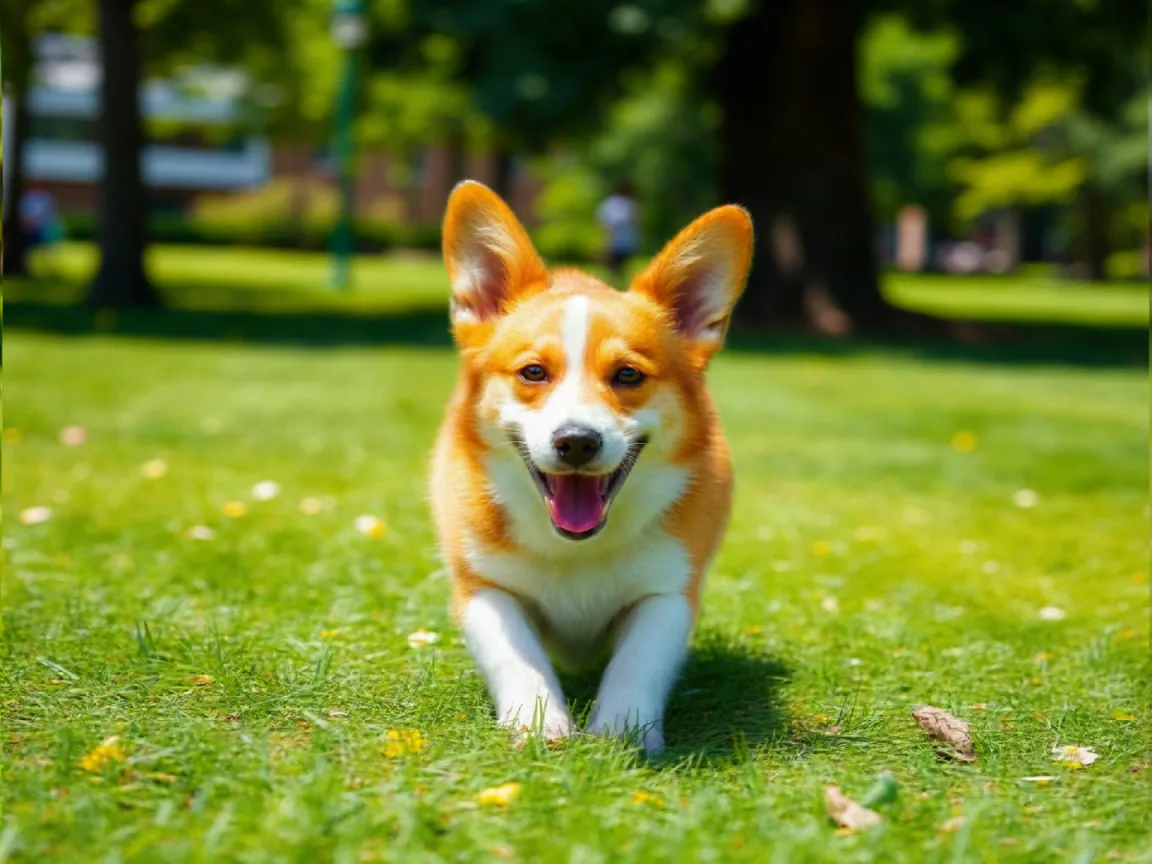
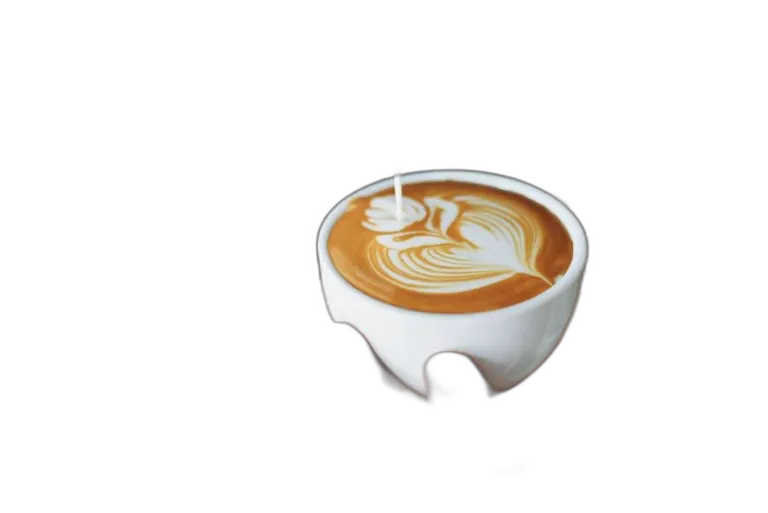
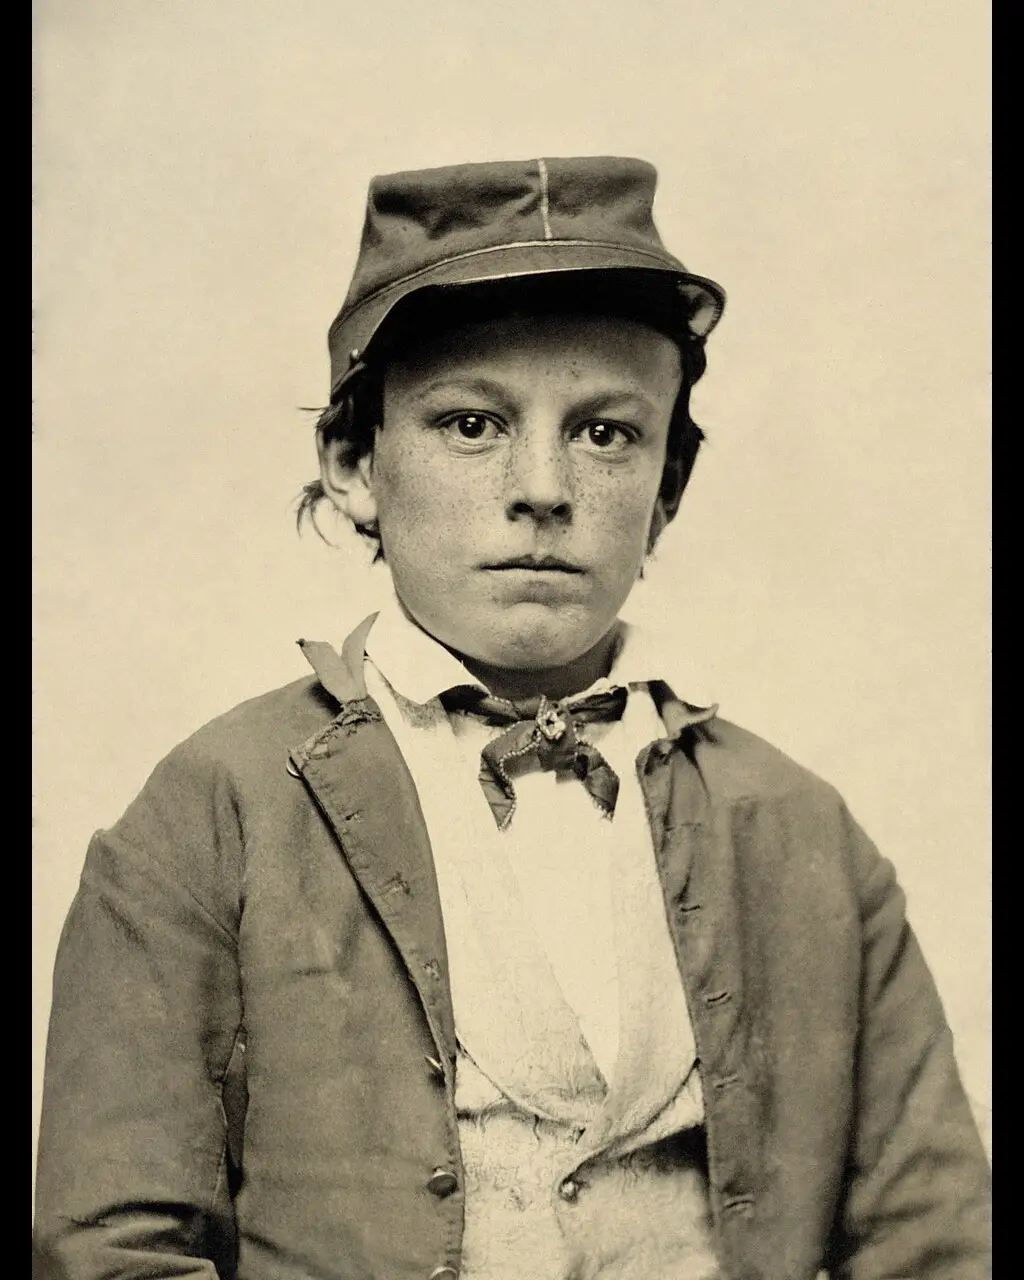
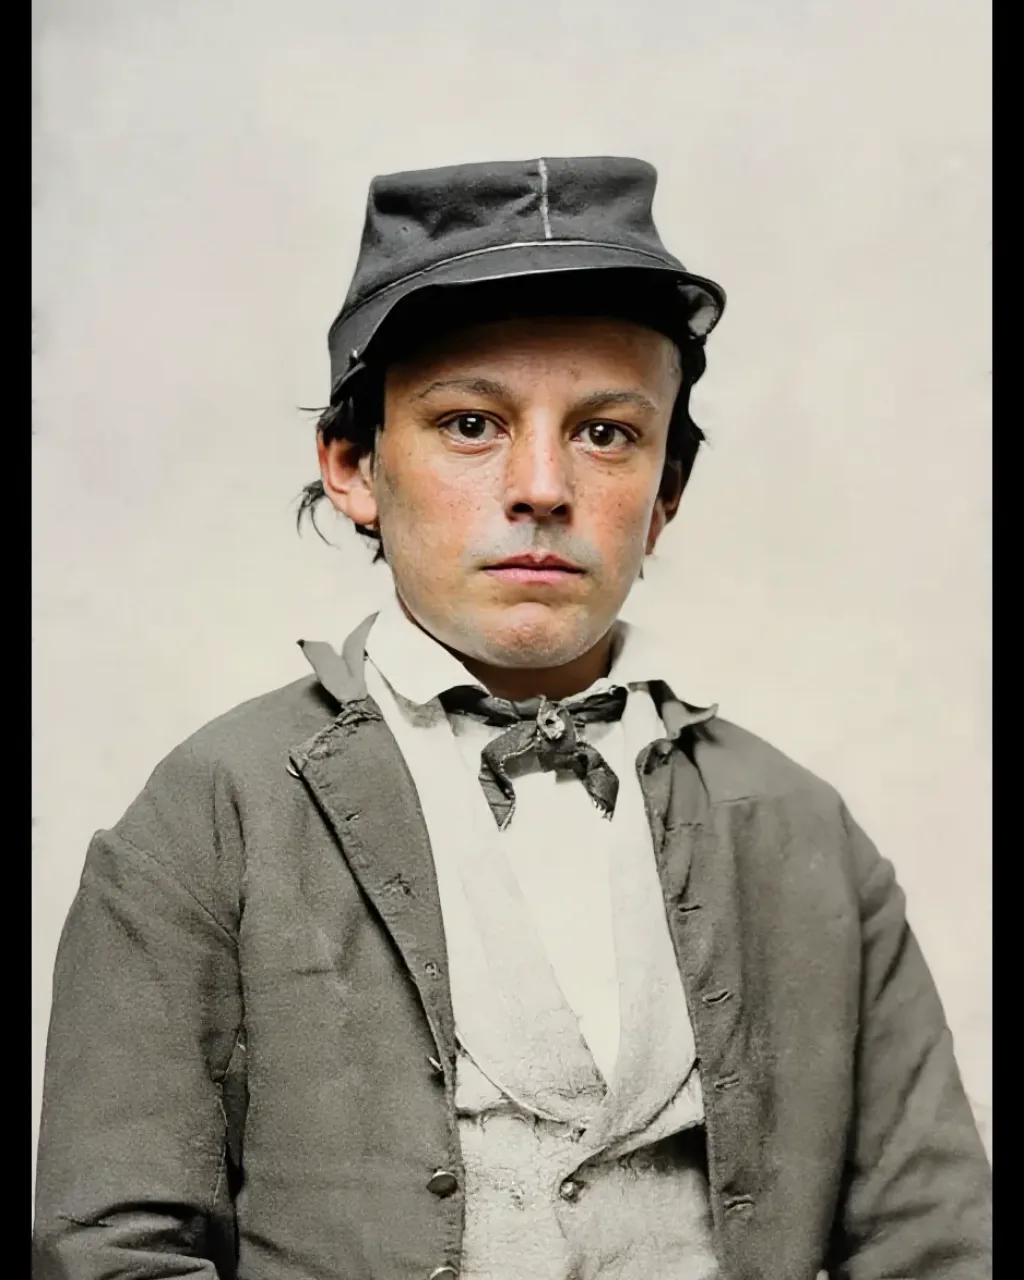
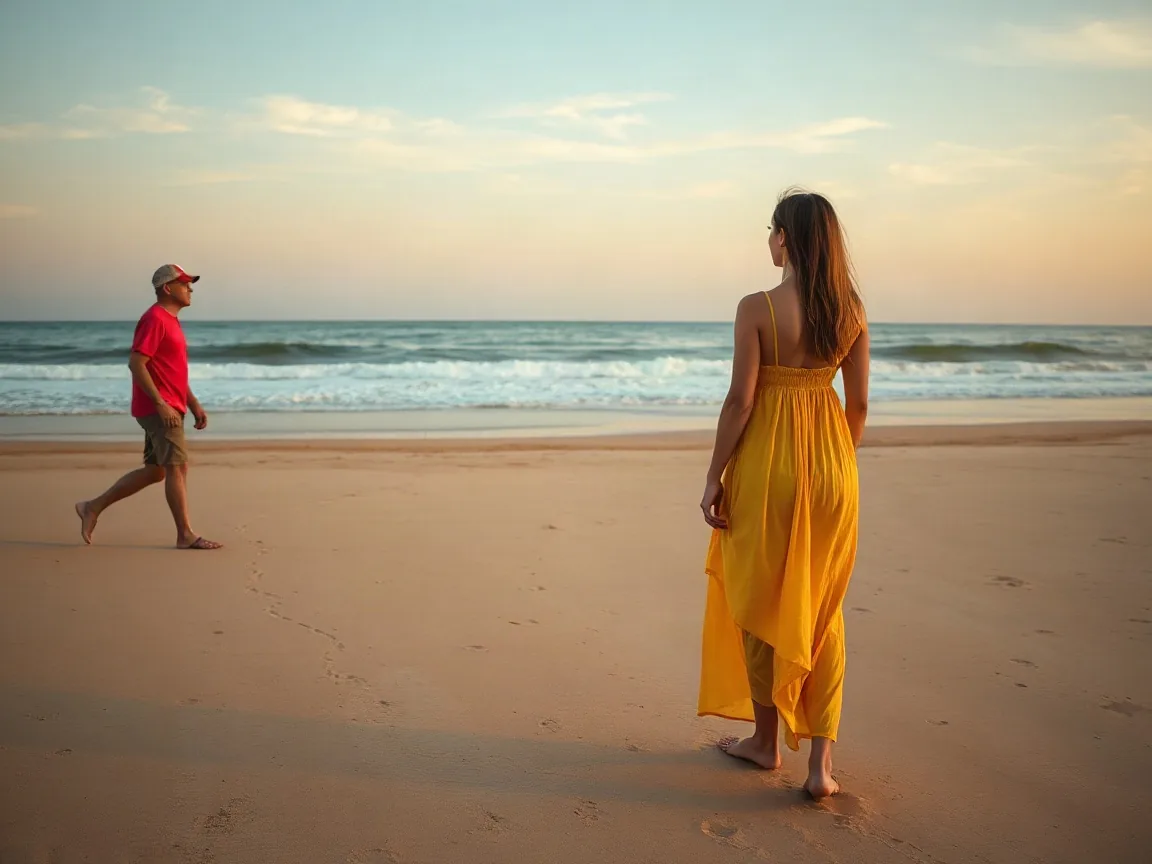
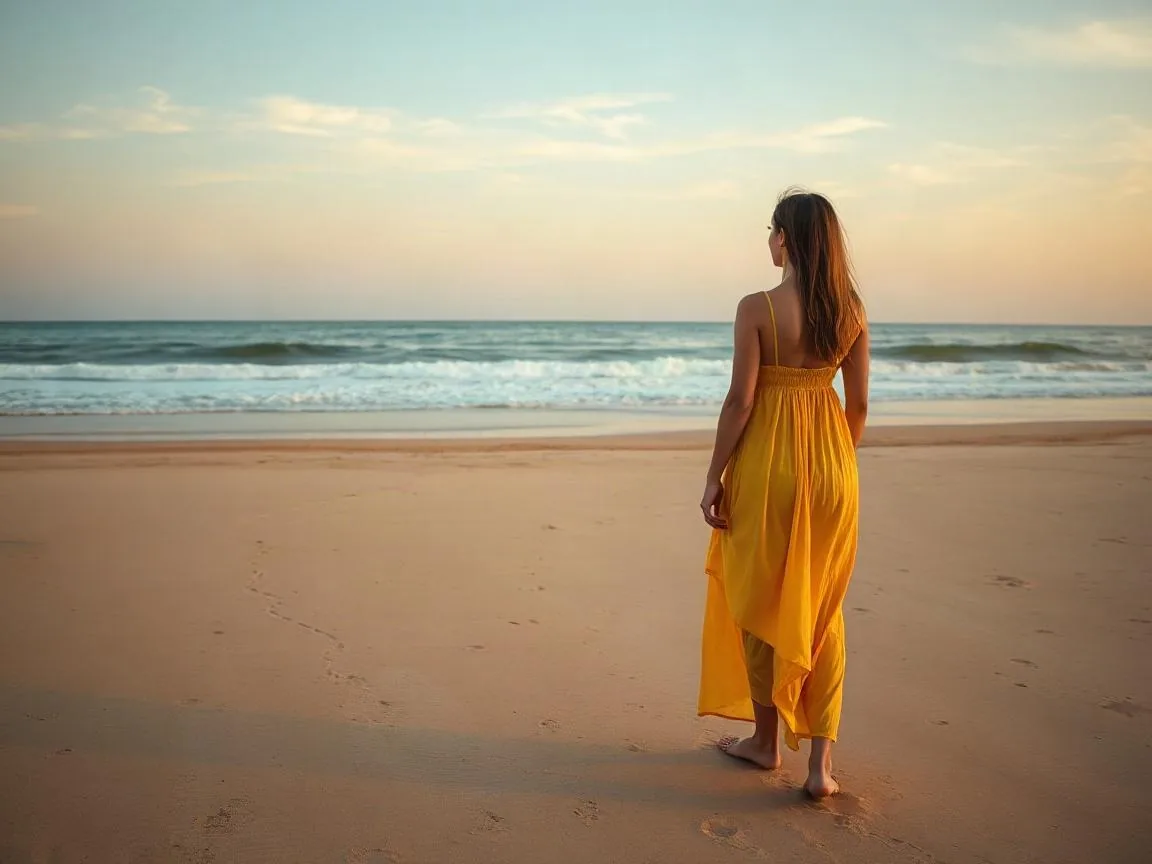
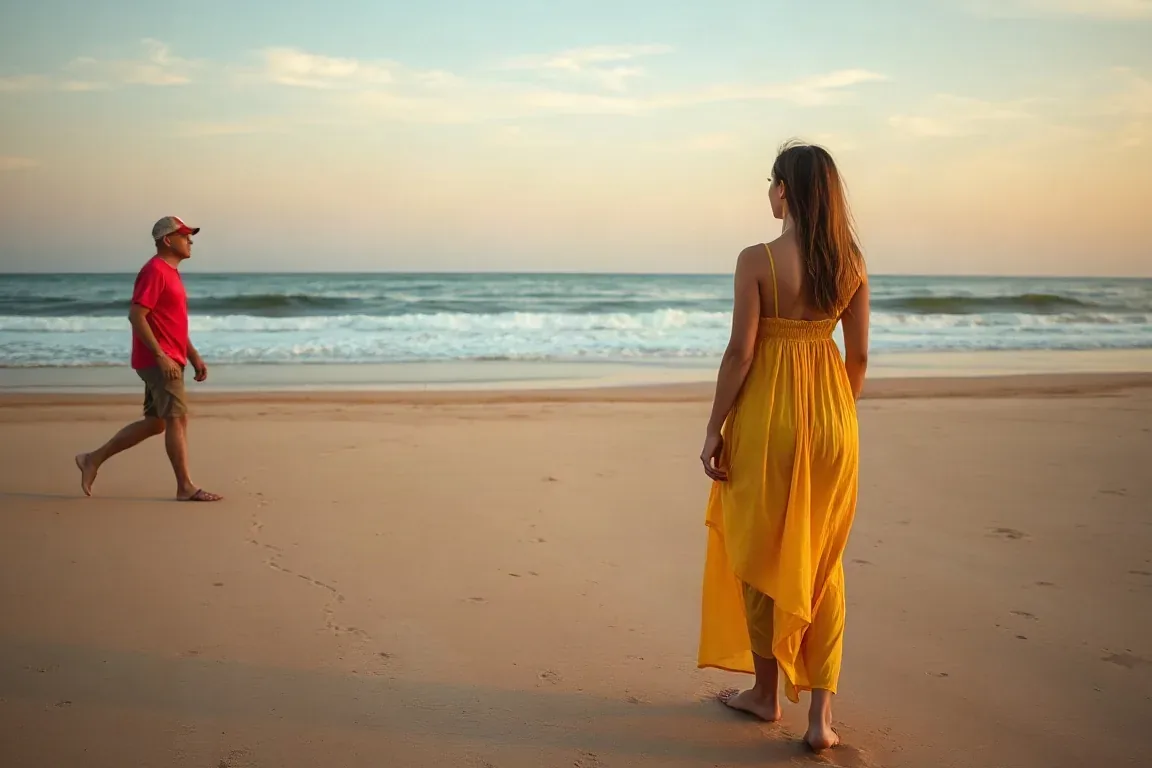
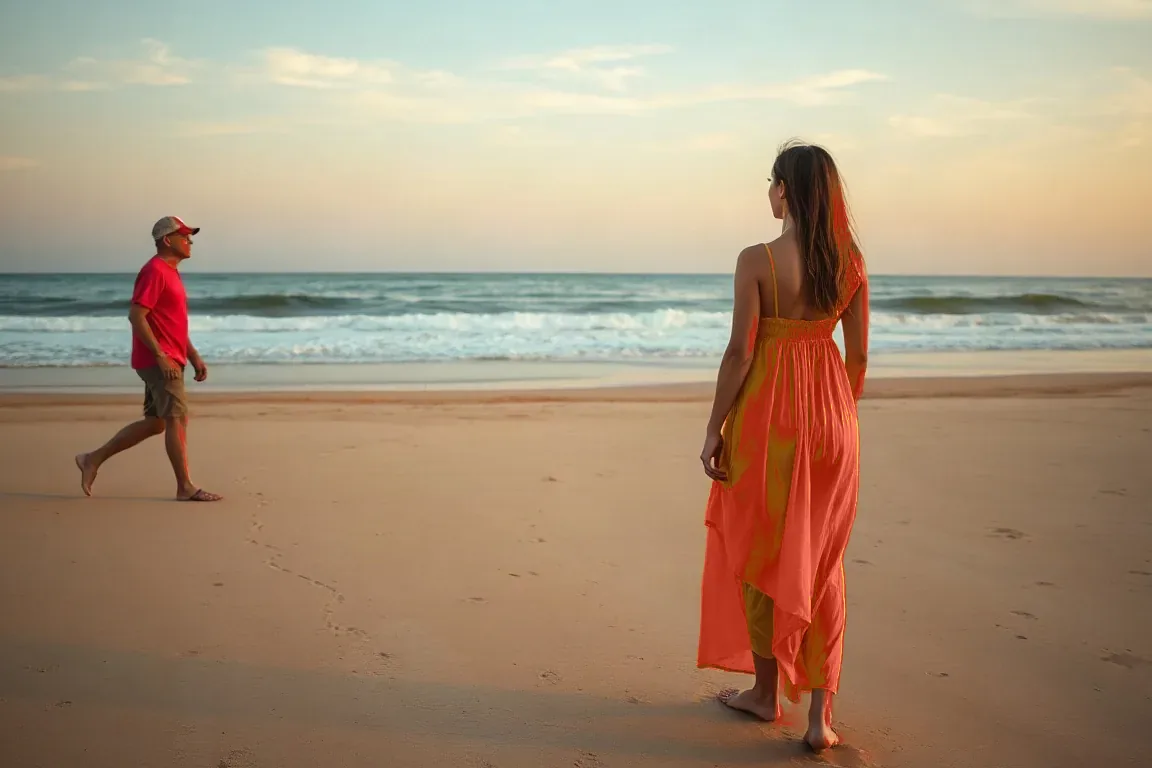
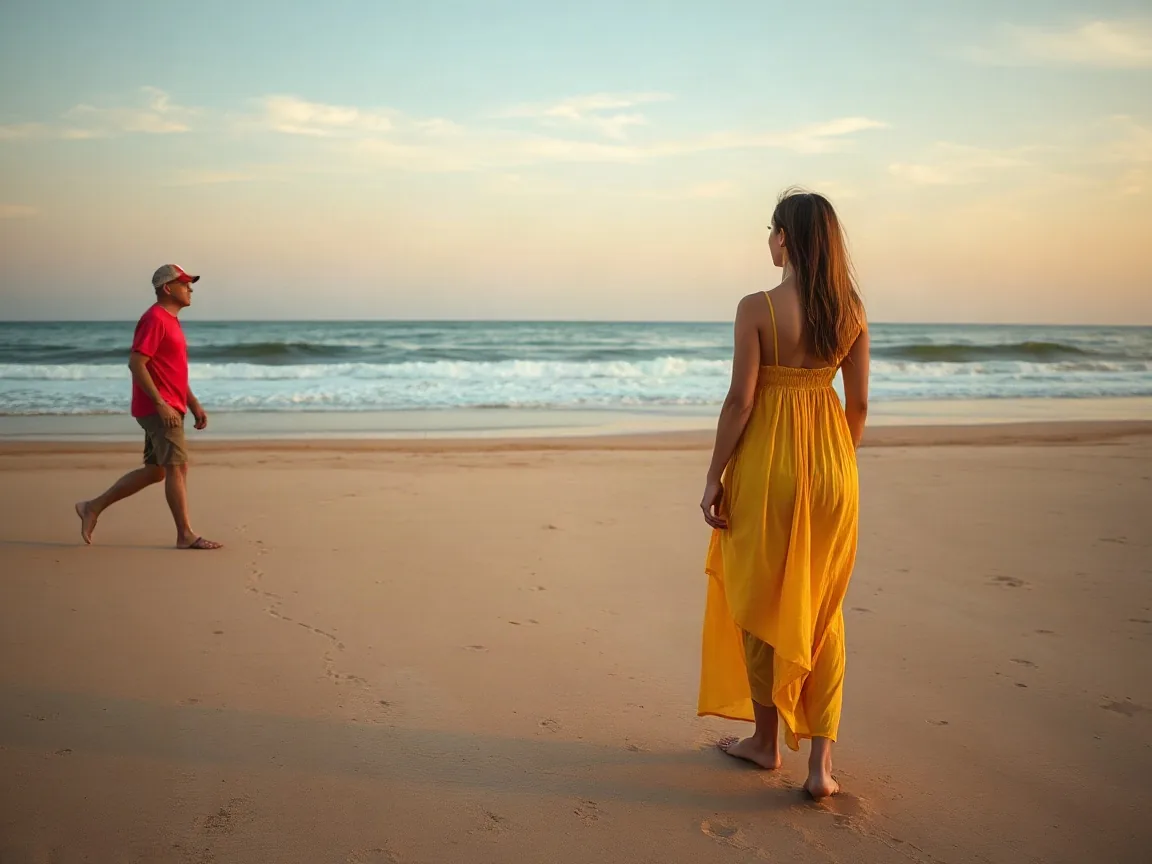
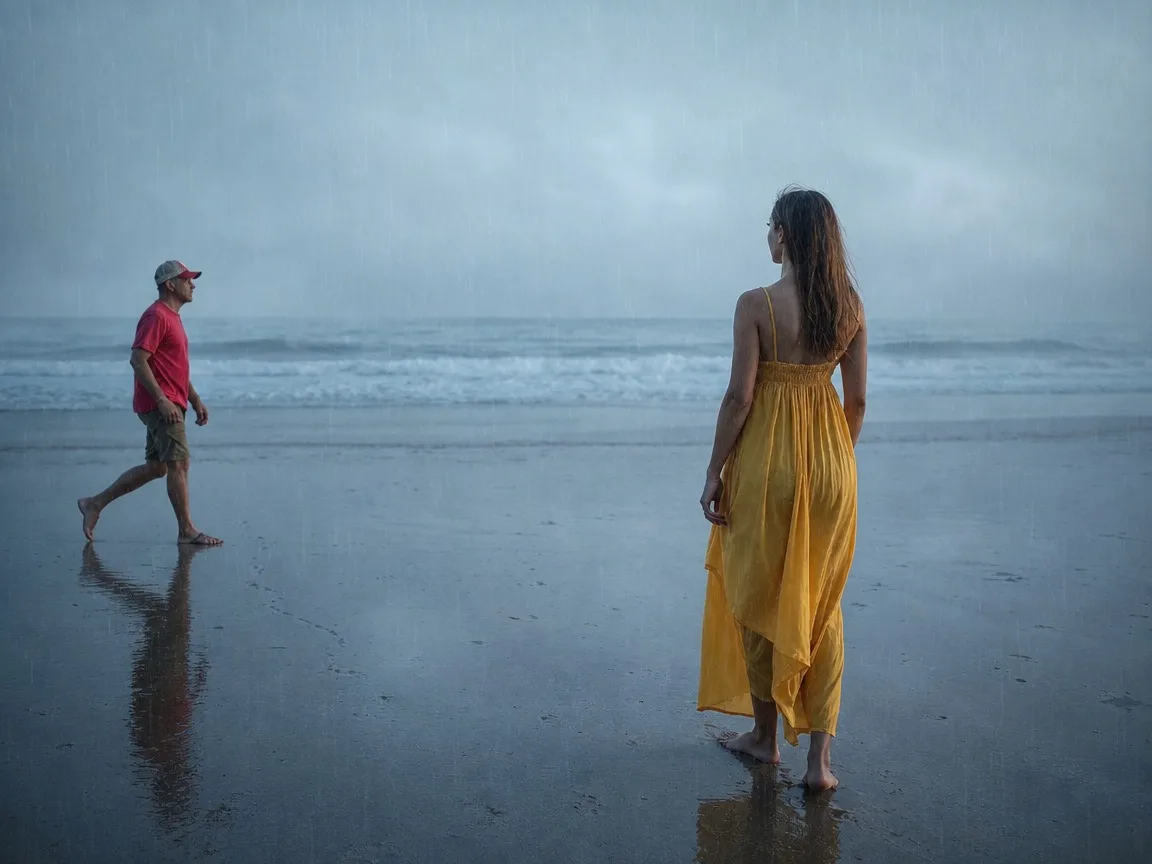
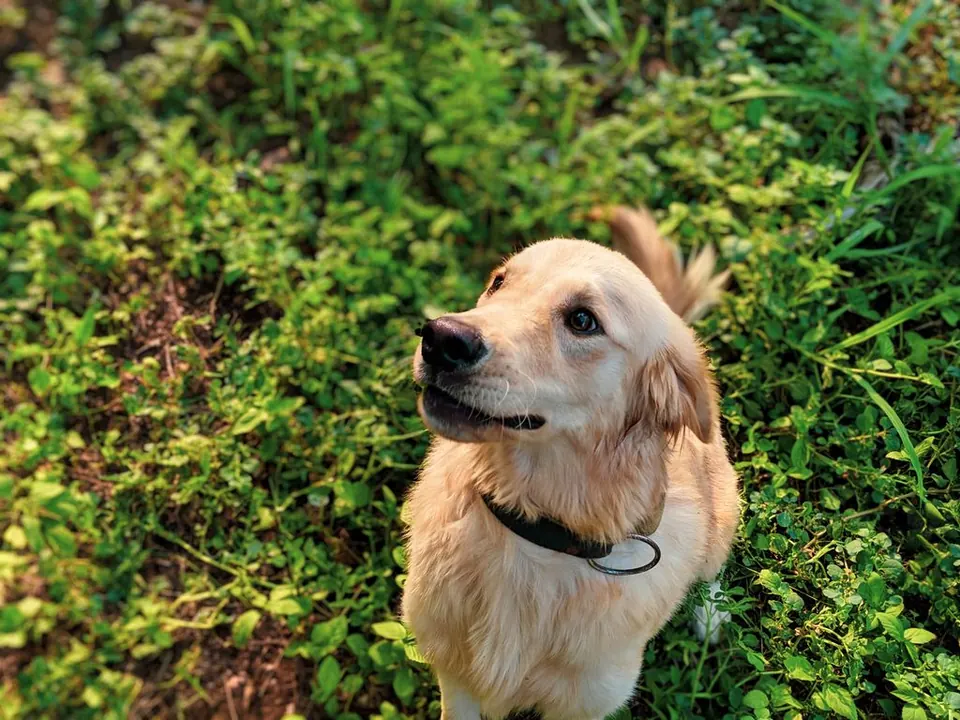
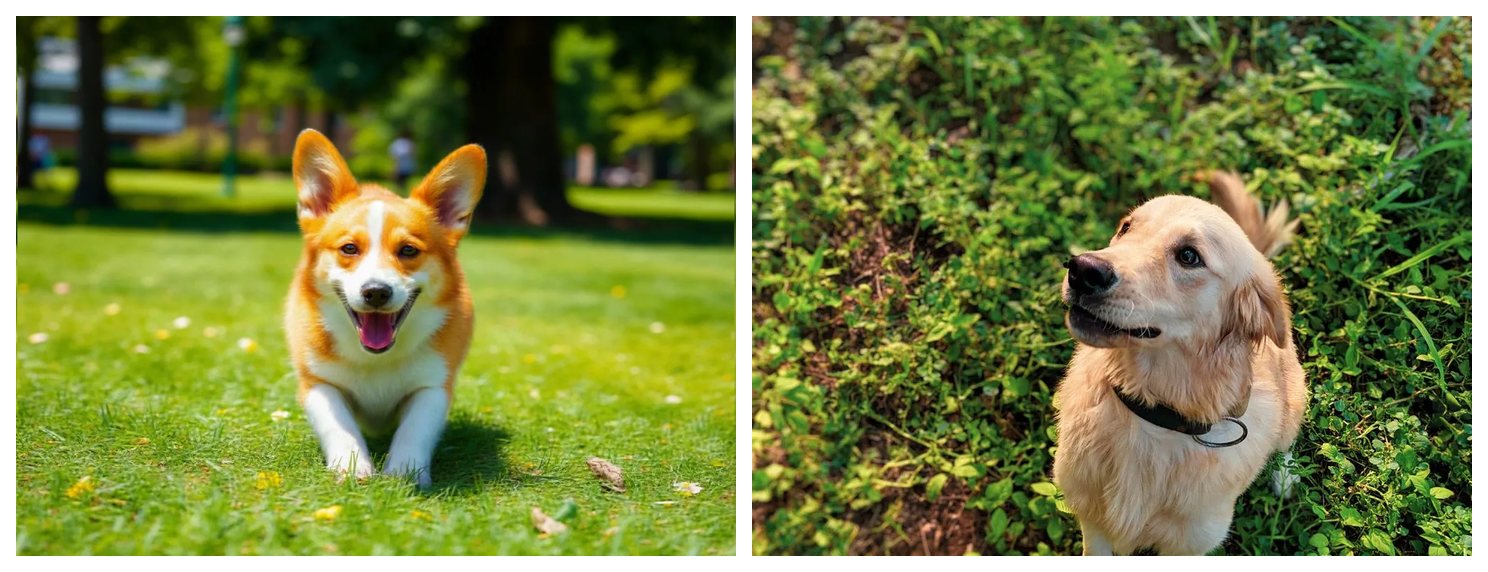
Stretching a photo with a simple resize only spreads the same pixels over more space, which is why edges turn into blocks or a soft smear. This upscaler rebuilds edge and texture so a small file can hold a larger frame. Use 2× when the picture only needs to be readable on a screen. Use 4× when it is going to print, a marketplace slot, or a wallpaper, because 4× makes four times as many pixels and costs 2 credits instead of 1. A source that is already sharp stays closer to the original. A source that is blurry does not become a new photograph. The pairs below are real 4× runs: a pet, a small source, a chat screenshot, an old print and a product shot. They show fur, type, edges and texture — not a plastic skin.
A chat image, a UI capture or a small screen grab is built from hard edges: icons, type and straight borders. A plain stretch softens those edges into gray steps. 2× or 4× on this page rebuilds the step so the icon and the letter stay readable. The chat-screenshot pair above is the kind of file this is for. If the screenshot was already out of focus, go to Unblur before you spend the upscale.
You can upscale image online at two factors, and the choice is the pixel count you need, not a look. If the picture only has to be clear on a screen, use 2×. If it is going to print, a marketplace main image, or a wallpaper, use 4×. When the short side is under about 500 px, run 2× first and look at the edge. Move to 4× only if that preview is still too small. A 4× job costs 2 credits because it builds four times the pixels. People who want to upscale image to 4k should start from a source whose long edge, times four, reaches about 3840 px.
To increase image resolution for print, count pixels, not a dpi label stored in the file. At 300 dpi a 4×6 inch print wants about 1200×1800 px, so a 1024 px long edge usually needs 2×. A 5×7 wants about 1500×2100, also 2×. An 8×10 wants about 2400×3000, so use 4×. A4 at 300 dpi wants about 2480×3508, also 4×. A marketplace main image at 1000 or 2000 px is often fine at 1× or 2×. A social cover around 1200×630 is a 2× job from a small source. To make image higher resolution means this pixel multiple. The file’s dpi tag is not what the printer reads if the pixel count is short. The same point is in the 300 dpi FAQ above.
If the information is gone because the shot is blurred or missed focus, this page cannot put it back. Open Unblur. If the shot is sharp and only short on pixels, stay here. If it is both soft and small, unblur first and upscale second. If the whole frame is dark or noisy but already the right size, use Image enhancer. Three tools, three jobs.
When each shot is already large enough and you need them in one export, merge two photos in the browser. Layout, gap and overlay stay on that page; this page only adds pixels.
How the tool works, what it costs and what you can use it on.
Version 1.3 · Updated 16 November 2026